Users can Edit your company's Email Letterheads, or Create a New Email Letterhead in the Setup menu by following the steps outlined in this Article. Letterheads are an excellent way to insure branding consistency in all your company's Email Templates.
Step 1. Search in the Quick Find and click on "Classic Letterheads" in the Setup menu
Step 2. Click Next if you get a tutorial message, then click on "New Letterhead"
Step 3. Name your Letterhead and check "Available For Use", then Save.
Step 4: You can insert a logo into your header or footer. Note, the Logo or images you want to use in the Letterhead first need to be uploaded to your Documents tab. See also: How To - Upload Logos and Images for use in Email Templates
Also important to note, a "Top Line" and "Bottom Line" will default to blue on a new Letterhead. If you don't change these, you'll have a couple of big horizontal blue lines on your emails that use this letterhead. Click to edit them and change their color to match your background (likely just white).

Step 5. Click Save. You're done!
This custom Letterhead can now be used on new or existing Email Templates.
Changing the Letterhead used for an Email Template
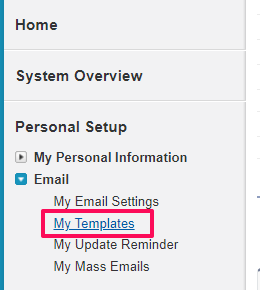
Step 1. Search in the Quick Find and click on "Templates" in the Setup menu
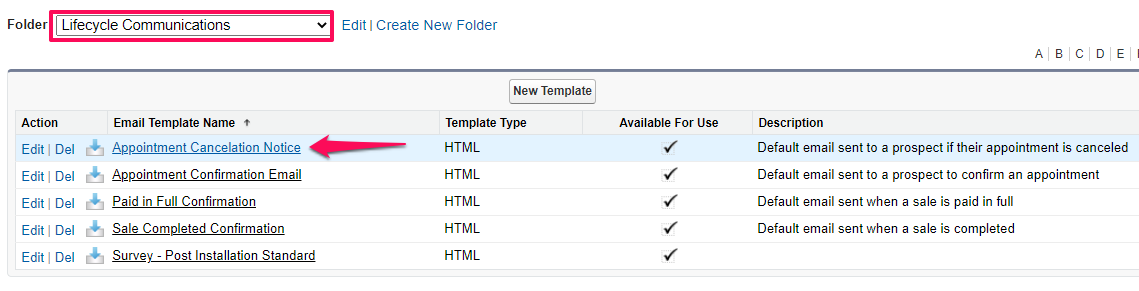
Step 2. Choose the Folder were your Email Template resides, in this Example we're changing the Appointment Cancelation Notice email, which is in the Lifecycle Email Communications Folder. Click on the Name of the Email Template you want to Edit.
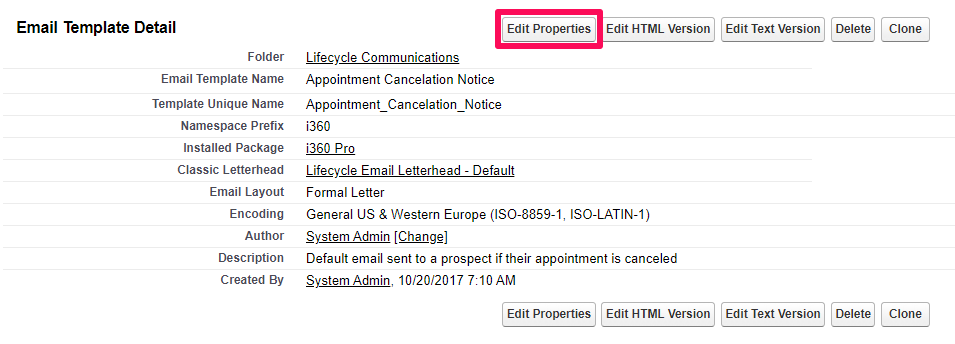
Step 3. Click "Edit Properties"
Step 4. In the Classic Letterhead field, select your new custom Letterhead
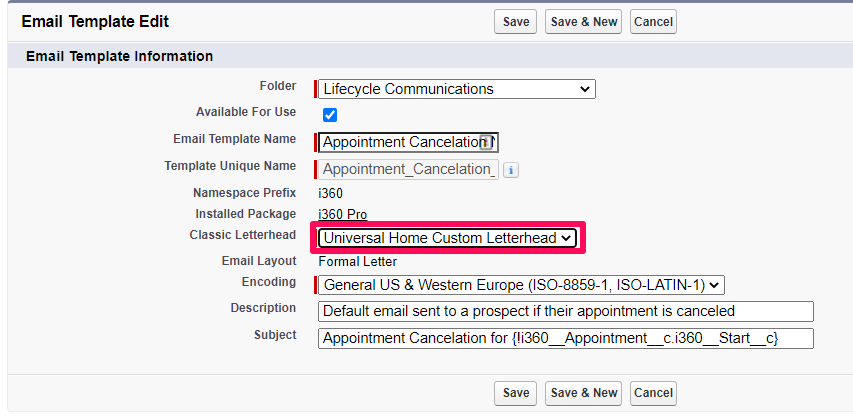
Save! You've changed the Letterhead for this one Email.
Repeat this process for all Email Templates you'd like to use the same Letterhead.