An Email Template is used to send standardized email communications automatically, using Salesforce Workflow Rule Actions. This Article will walk you through editing an Email Template. For more information about the Out of the Box improveit 360 Email Templates, See Also: Out-of-The-Box Email Templates
See Also: Enabling Email Automatons from the Settings Tab
Below are steps with screen shots to assist you with Editing your Email Templates.
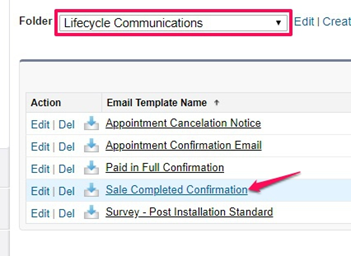
In this example, we will be modifying the “Sale Completed Confirmation” which goes to the Prospect when their Sale status is changed to Final.
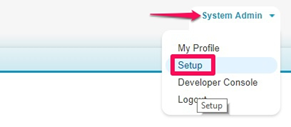
Click on your Username in the upper right-hand corner
Click Setup
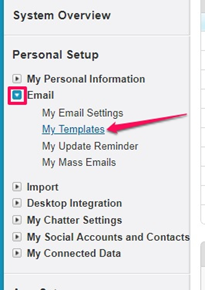
Under Personal Setup, Click the Arrow (>) next to Email
Click on My Templates
Choose the desired folder location
Click on the desired email template name
Click the button that says Edit HTML Version

Use the Formatting Controls to change the Font, Size of the Font, Color and add Images or Embed Hyperlinks into the body of your email
You can Insert Merge fields you’d like to be pulled from data within the system. Keep in mind the Object (Field Type) triggering this Email Template to be sent. In this example, we can only use Fields from the Sale Object ie: Sold On date, Sales Rep, Balance Due, Sale Status, etc. For this example, we will be inserting the Merge Field for a Custom field called "Annual Maintenance Fee", letting the Prospect know we can come back for an Annual Service Inspection for a set price every year. 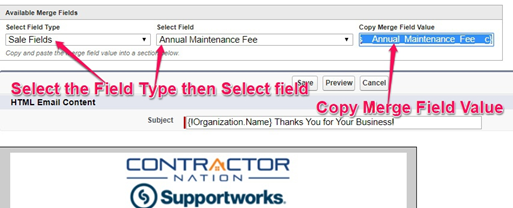
Inserting your own Merge Fields can help personalize your email content, and better engage with your customers.