Each company using improveit 360 tracks different information at the Lead capture stage. For this reason, your System Administrator will work with your Marketing Manager to determine which Fields should be available on the Lead Entry page of your improveit 360 system.
Follow along with this video to Add Fields to the Lead Entry page using the 'Quick Sale' Field Sets on each Object:
Here are the three main sections of the Lead Entry page and how to navigate to each Field Set:
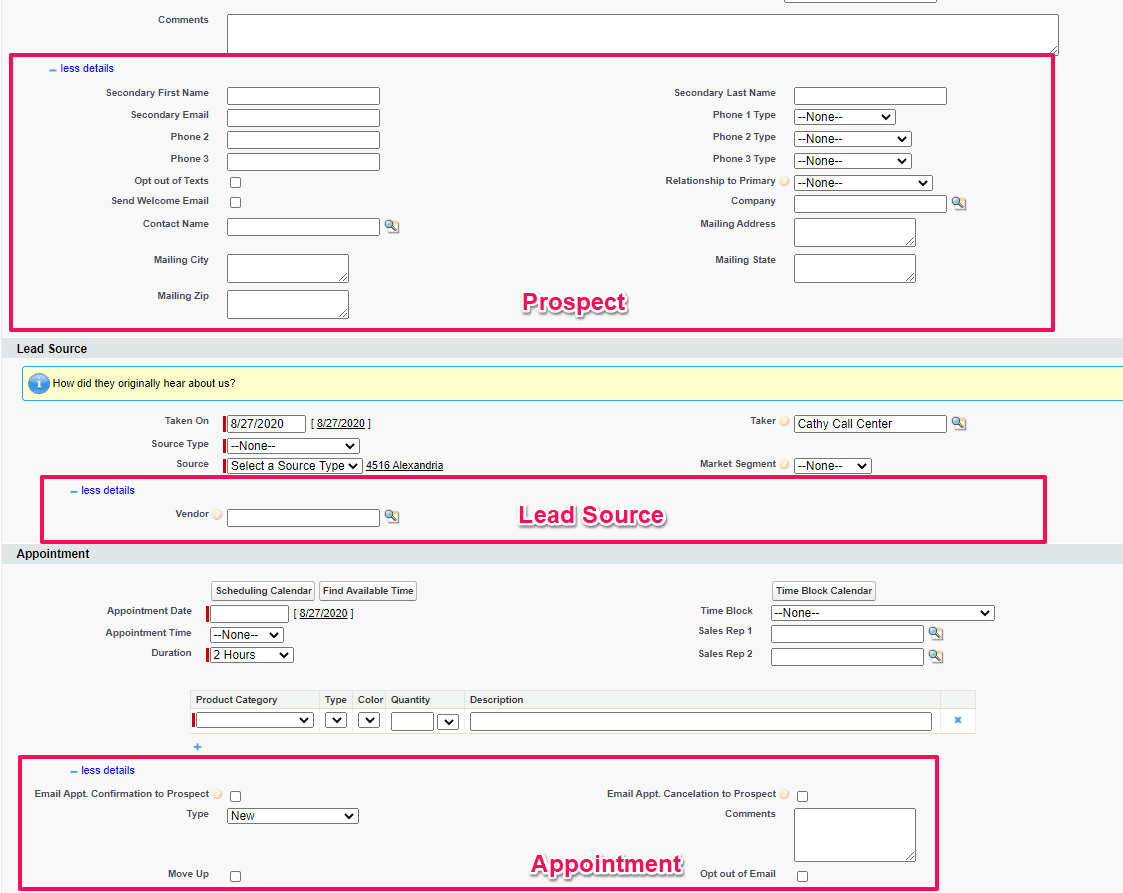
If you want to Add Prospect Fields to the Lead Entry page you'll navigate to Setup > Create > Objects > Prospect and locate the "Quick Sale - Prospect" Field Set.
If you want to Add Lead Source Fields to the Lead Entry page you'll navigate to Setup > Create > Objects > Lead Source and locate the "Quick Sale - Lead Source" Field Set.
If you want to Add Appointment Fields to the Lead Entry page you'll navigate to Setup > Create > Objects > Appointment and locate the "Quick Sale - Appointment" Field Set.
Drag and Drop the Fields you like to appear on the Lead Entry page, to the box that says "In the Field Set" and click Save.
When finished adding fields, be sure to Run First Time Setup
See also: Creating Custom Fields and Adding to a Field Set